

Article
How to Survive Your First Night in Darkwood: Beginner's Guide
Survive your first Darkwood night with tips on lights, safe corners, barricades, bear traps, and a practical hideout checklist.
On this page
Your first night in Darkwood can feel like a test you were never taught how to pass. There are footsteps outside, the house has too many openings, and sitting in a corner suddenly seems like a very sensible life choice.
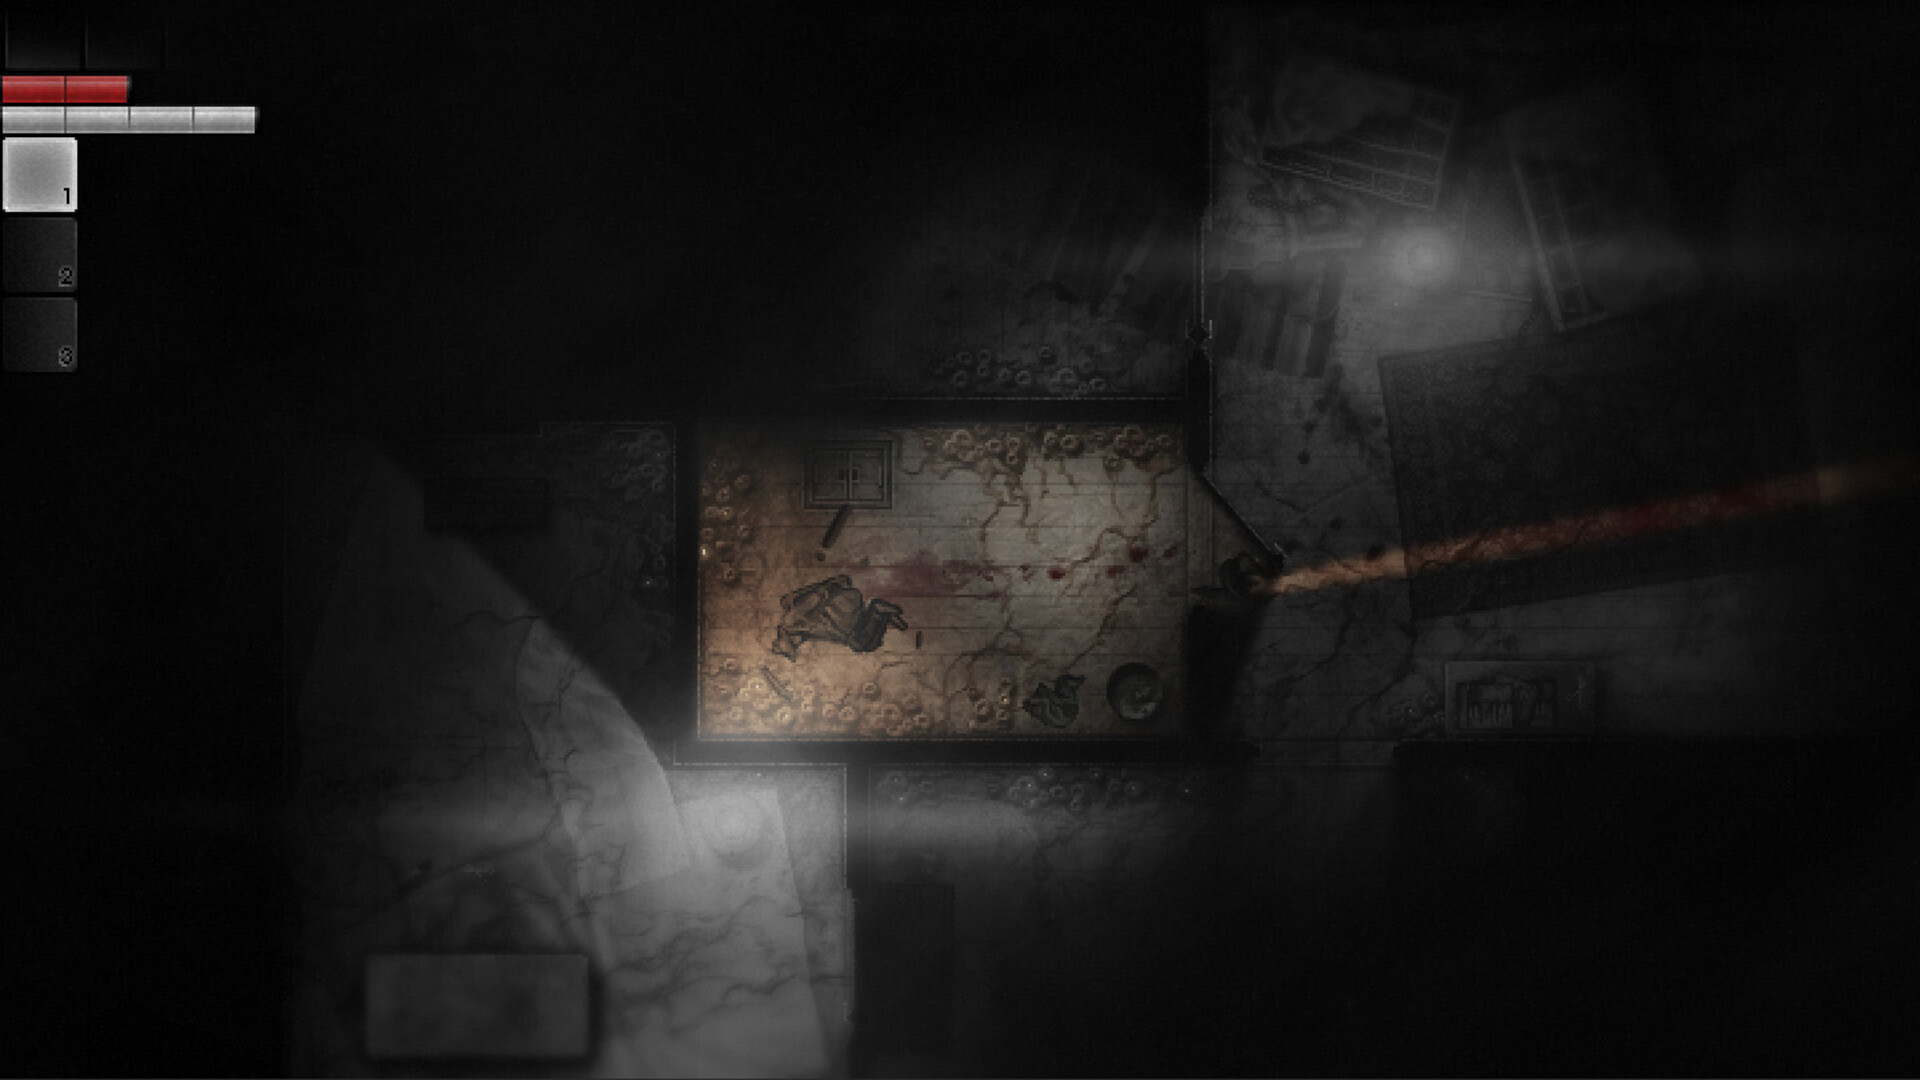
The goal is manageable: prepare one room, keep useful light nearby, slow down entrances, and leave yourself space to move. This guide focuses on the first hideout after the prologue, with a short daytime plan to help you get ready.
Your starting plan: use the workbench room as your defensive base, bring the movable lamps into it, reinforce its vulnerable entrances, and keep a clear route across the room. A corner is a waiting position, not a guarantee of safety.
First day: collect what your night setup needs
Search the hideout before heading far away. Learn where the workbench, oven, generator, and table saw are, then make a short scavenging loop for boards, nails, gasoline, and healing supplies. Take scrap metal if you find it, but getting a weapon and usable defenses comes first.
- Make a basic weapon. Craft a Board With Nails at the workbench when you have the materials. Practice readying and swinging it somewhere safe; check its condition before night.
- Process wood thoughtfully. The gasoline-powered table saw turns logs into boards. Reserve gasoline for your generator instead of spending it all on sawing.
- Bring materials home. Store spare supplies at the workbench and keep your weapon and healing item easy to reach.
- Return early. If you have a watch, aim to be home around 18:00. Without one, treat the changing light and dusk warning as your cue to head back immediately.
These opening crafting and supply priorities follow the Darkwood Wiki beginner guide. The board reference explains the table saw and the materials' defensive uses.
Give yourself a buffer: night begins at 20:00 and ends at 08:00. Returning at 18:00 is a planning recommendation, not a deadline imposed by the game. A watch displays the clock while carried in your inventory.
Where in the house should you hide?
Start with the workbench room
The workshop is a good beginner choice because it gives you a compact area to defend and some room to maneuver. Inspect your own house before committing: layouts vary between playthroughs, so a compass-direction instruction from someone else's run may not match yours.
Count the windows and doorways leading into your chosen room. Stand where you can watch likely approaches without being directly in front of a window. Bring your supplies and lamps here before sealing anything.
Choose a corner with a way out
A wall-backed position away from the most exposed entrance can help you monitor the room. Stay a little out from the corner, with enough space to step sideways or retreat. Avoid wedging yourself between a wardrobe, a lamp, and the wall.
The tiny adjoining entrance room is another possible shelter, but its cramped floor makes recovery harder if something gets inside. For a first attempt, favor the room that leaves you space to swing and reposition. The Dry Meadow hideout guide compares both choices.
Corner rule: before night, walk from your waiting spot to each lamp and back. If furniture or a trap blocks that route, rearrange it now. Being able to move matters more than squeezing into the smallest gap.
Set up your lights before it gets dark
The oven protects the hideout; the generator powers the lamps
The Dry Meadow oven starts lit. Its protection keeps the dangerous nighttime floor threat out of the hideout; it does not stop ordinary intruders. The oven consumes no fuel. Your generator has a different job: it uses gasoline to power electric lighting. Check its fuel and switch it on near nightfall instead of leaving it running during your daytime trip. See the oven and gasoline references.
Keep both lamps within easy reach
Bring the movable lamps into your defensive room. Place them so your waiting spot and a short movement route are lit, with neither lamp trapped behind a wardrobe or an armed trap. Keeping the lamps nearby gives you options if one stops working.
If you have gained the Shadows negative trait, whispers and failing lamps can signal a Shadows event. Move into the light of the lamp that remains on. A flare is a useful emergency backup; a flashlight can also help. A torch, lantern, or the oven's glow will not protect you during this event. It is conditional early in the game, so do not assume every first night will feature it. See the Shadows trait, Shadow mechanics, and flare guidance.
Light is useful, not a force field: keep your weapon ready even in a well-lit room. If your ordinary lighting fails, listen and watch for the cause; do not sprint outside to the generator just because the room suddenly went dark.
Barricade the room you are actually defending
Reinforcing the entire house can consume your opening supplies. Prioritize an exposed window into your chosen room, then its most vulnerable doorway. Keep intact defenses in place instead of breaking them for convenience.
A wooden door or window barricade costs 3 boards and 7 nails. Broken doors may need repairing first. Barricades delay entry, and window barricades are weaker than door barricades; neither should be treated as permanent protection. Consult the entrance and barricade reference.
Move a wardrobe or other available furniture across an opening as an extra obstacle. Check the result by trying to walk through the gap yourself. Furniture can shift or break, so keep watching that approach. Do not let your own barrier cut off access to the lamps.
Think in layers: an entrance barricade slows the approach; an optional trap catches an intruder after a breach; your clear floor space lets you respond. Avoid a setup that leaves you trapped behind your own defenses.
Where should you put bear traps?
Traps are optional for your first night. If materials are scarce, get lighting, a usable weapon, and basic barricades sorted first. One well-placed trap is easier to manage than several scattered across your room.
- Below a vulnerable window: place it on the interior landing area an intruder would use.
- Just inside a likely breach: use it where an enemy entering through a doorway would cross, while keeping your own movement route separate.
- Away from your waiting spot: leave enough distance to approach a caught enemy with your weapon instead of stepping onto the trap yourself.
Bear traps damage and temporarily immobilize whatever steps on them, including you. Set them before night and memorize their positions. Disarming takes time, so do it during calm preparation rather than while an enemy is closing in. See the bear trap reference.
Keep the floor simple: do not arm a trap on the path between your corner and your lamps. Skip indoor gasoline-and-fire experiments while learning this setup; you need the room and its defenses available when something goes wrong.
What to do once the night starts
Listen without chasing every sound
Wait inside your prepared room and watch its approaches. Some nighttime disturbances involve doors moving without a visible intruder. A sound is a reason to pay attention, not an instruction to investigate outside. Knocks can be associated with different events, so the cautious first-night choice is to keep your position. The night-event reference describes these disturbances.
If something breaks in, leave the corner
Use the time your defenses bought you. Face the opening, ready your attack, and keep room to retreat after a swing. Avoid exhausting all your stamina with panicked attacks. If an enemy crosses into the room, step into the clear space you prepared rather than letting it pin you against the wall.
If lamps fail, keep your route clear
When Shadows are active, reach a functioning lamp or use your suitable backup light. Watch the floor as you move: the emergency route must not cross your own bear trap. Surviving the event matters more than guarding the exact spot where you began the night.
Wait for morning before heading out
Do not leave merely because dawn's colors appear. Night ends at 08:00. After surviving, the morning time freeze gives you a chance to check the house, craft, and repair before leaving the hideout's boundary starts the clock again. Turn off the generator before your next expedition. See the time and morning-freeze reference.
First-night checklist
- ☐ I am back at the Dry Meadow hideout before 20:00.
- ☐ My defensive room has a clear waiting spot and room to move.
- ☐ My lamps are in the room and reachable without crossing traps.
- ☐ The generator has gasoline and is switched on for the night.
- ☐ Vulnerable entrances are reinforced as supplies allow.
- ☐ Furniture slows an approach without blocking my own route.
- ☐ My weapon is usable, with healing supplies easy to reach.
- ☐ Any bear trap is placed at an entry point, away from my feet.
- ☐ If available, a flare or flashlight is ready for emergency light.
- ☐ I know where to move if an intruder enters or a lamp goes out.
Your safest corner is the one you can leave
You do not need a perfect fortress to get through the opening night. Give yourself a room you understand, light you can reach, and defenses that buy time. Then use that time to stay calm and move when the situation changes. The house should help you survive—not become another thing trapping you.
Independent After Dark Games guide. Opening-area mechanics checked against the linked Darkwood Wiki references on October 8, 2026. Room and trap placement are practical recommendations, not a guaranteed safe layout. Darkwood is developed by Acid Wizard Studio; this guide is not affiliated with the developer.